
How to Use Pre-package Kits
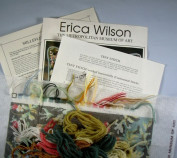
We have many kits on
the market that can fit nicely in your home. In the shops, you can find thousands of ideas from pictures to pillows. Before you buy one, consider the pros and cons of kits. First,
purchase the best kit you can afford. A kit is an excellent learning tool. You can determine if you enjoy needlepoint and everything you will need for the project will be there except for
pillow stuffing or picture frame.

If possible, look at the canvas. The picture may or may not be straight on the canvas grid. Look at the print and determine if the design leans to the right or left. Leaning buildings are unacceptable.
 Not A Hand Painted Canvas
You may find a canvas much higher in price. This is hand printed for each individual stitch. For the consumer, this means each individual intersection on the canvas has been painted to indicate the exact placement for each color.
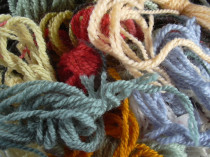
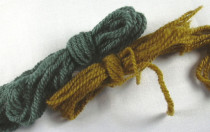
Look at the threads/yarns. If the kit contains embroidery floss, that is good. If the kit contains yarn, wool is the better choice, since acrylic yarn is generally a poor quality and does not wear well. If you make a mistake and need to rip out, acrylic will not hold up as well as cotton or wool.
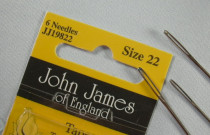
After you purchase the kit, bring it home and open the package. You should see the canvas, threads, instruction and a needle. Kits usually come with only one needle. You may wish to purchase a package of the correct size needle. (See Needle Sizes) There is nothing more irritating than losing your needle in the middle of the night when you wish to continue stitching.
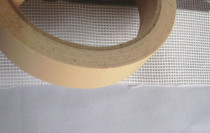
If the canvas doesn’t have binding around the edges, you can use masking tape and bind all the raw edges.
Sort the threads according to the colors required.
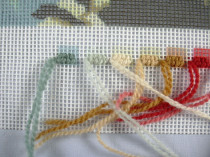
The canvas should have a color key somewhere on the edge of the canvas. Snip a 1” sample of each color thread and attach to
its corresponding square. You should refer to this as you stitch your canvas. The picture shows Continental stitches inserted into the color key.
At this point, you need to determine if you wish to stitch on stretcher bars or hold the canvas in your hand. For information on mounting on stretcher bars, see Mounting On Stretcher Bars.
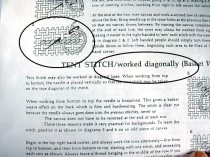
Be sure to read the directions to see what stitch you should use. A kit normally includes enough thread to finish the job. If the instructions tell you to stitch Half Cross do so. This stitch uses less thread than Continental or Basketweave. More decorative stitches usually use more thread than Half Cross.
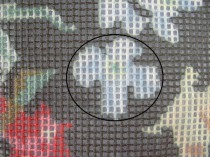
Some of the intersections have two different colors. You may ask, what color do I use? Example, do I stitch blue or white? To answer, look at the canvas. When the intersection has more white than blue, white should be stitched. If the intersection has an equal portion of each color and is not obvious as to which one is correct, work freely with your needle. When a circle, look at the circle and work on your own. You want natural looking curves which are true to live. Never create large steps.

If you worked the needlepoint using the sewing method, you will need to block the needlepoint. See Make a Blocking Board and Blocking-Wet Method or Blocking-Steam Method.


